Discover the latest natural organic flavors!
I discoverCheckout using your account
Checkout as a new customer
Creating an account has many benefits:

Access exclusive benefits by creating your pro account at Neroliane. Enjoy an immediate 15% discount on all your purchases!
Access exclusive benefits by creating your pro account at Neroliane. Enjoy an immediate 15% discount on all your purchases!
Have you dug your yoghurt maker out of the attic and want to start making your own flavoured yoghurts? Follow our guide and discover our tips for making delicious dairy desserts!
Economical, infinitely adaptable and quick to prepare, homemade yoghurt has it all! Not only do you know exactly what you're eating, but homemade yoghurt is cheaper than shop-bought, requires very few ingredients and minimal cooking, and avoids excess packaging. You can even control the amount of sugar in your yoghurt! With a few tips to get you started, you'll quickly get the hang of it and delight your family and friends with your flavoured yoghurts.
According to Decree No. 88-1203 of 30 December 1988 ‘on fermented milk and yoghurt’, "the name “yoghurt” or “yoghurt” is reserved for fermented milk obtained, in accordance with fair and consistent practices, by the development of only specific thermophilic lactic bacteria known as Lactobacillus bulgaricus and Streptococcus thermophilus, which must be simultaneously inoculated and be present in the finished product, at a rate of at least 10 million bacteria per gram in the milk portion." Therefore, not all fermented milks are yoghurts.
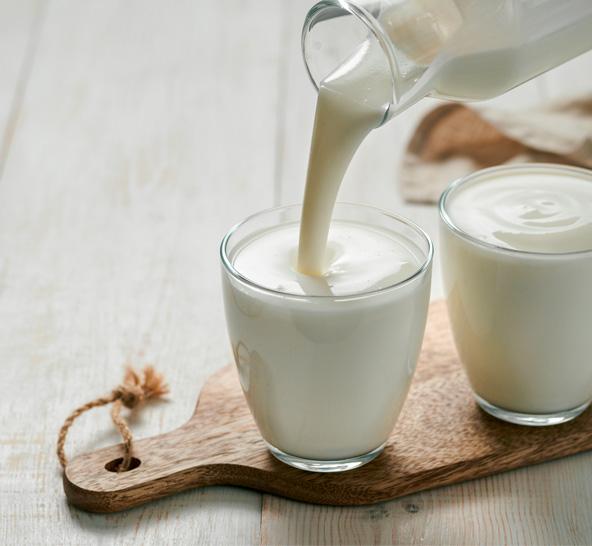
The first step is to choose the right milk: the most common yoghurts are made from cow's milk, but other milks are just as suitable. Goat's milk, sheep's milk and vegan milks made from soy or coconut make delicious yoghurts! If you opt for cow's milk, there are several options available, including whole milk, skimmed milk and semi-skimmed milk. All three options are possible, but the final texture will vary depending on which one you choose. Whole milk yoghurts are firmer. To make your own yoghurt from raw milk, be sure to boil it thoroughly and then cool it to eliminate any bacteria (you will need to strain it through a sieve to remove the skin).
The second ingredient you need to make your own yoghurt is a lactic acid starter. There are two schools of thought: those who use a pot of yoghurt from a previous batch or a shop-bought pot (as fresh as possible), and those who opt for powdered cultures. The latter can easily be found in shops, online or in pharmacies. In terms of quantities, the general rule is one pot of yoghurt for one litre of milk. Once you have chosen your milk and starter, move on to the preparation: to activate the starter, dilute it in warm milk. Be careful: the temperature must not exceed 45°C. It is best to use a thermometer, but if you don't have one, you should be able to dip your finger in the milk without burning yourself.
Once you have mixed the milk and starter, you can work on the texture of your future yoghurts. If you like thick yoghurts, you can add powdered milk or natural thickeners such as chia seeds or psyllium powder, which have an immediate effect. Try out different methods and quantities to achieve the ideal texture!
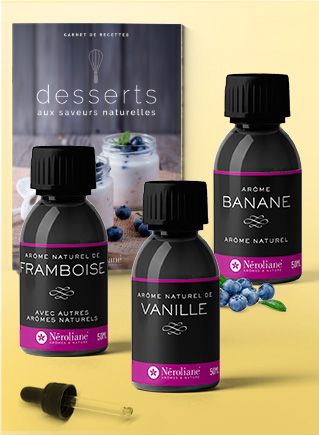
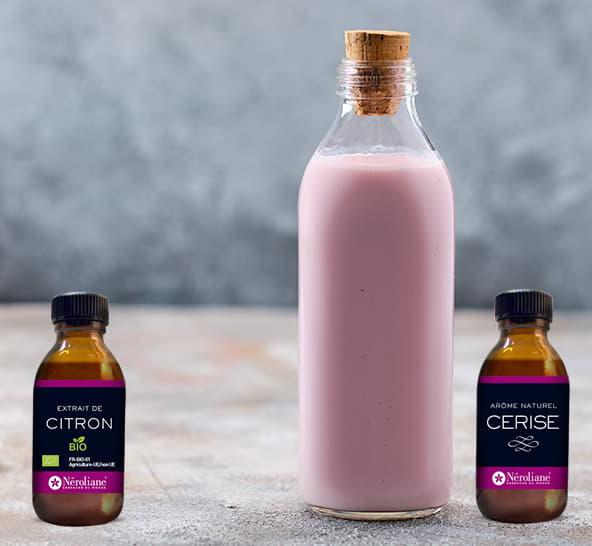
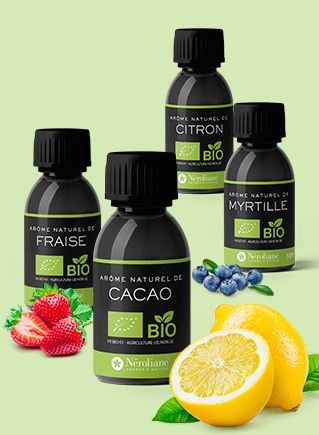
Just before putting the mixture into the yoghurt maker comes the most creative part of making yoghurt: flavouring. Let your imagination run wild with an endless range of flavours! Infuse the warm milk with vanilla, fresh herbs (mint, etc.), citrus zest (organic and untreated) or spices. You can also add food flavourings, choosing natural and organic ones if possible. The Néroliane website offers a wide range of flavours, from classic flavours such as lemon and mango to more daring and original flavours such as tonka bean and gingerbread. If you like sweet yoghurts, you can add powdered sugar, liquid cane sugar syrup, agave syrup or brown sugar to your mixture. The possibilities are endless! However, avoid mixing fresh fruit with your yoghurts: it's better to use jam, placed at the bottom of the pots, or compote... or even chestnut cream for those with a sweet tooth! To prevent the milk from curdling, avoid using fruit juices, especially citrus juices. Then simply pour your mixture into glass jars (preferably sterilised) and leave to ferment.
First things first: although a yoghurt maker (which often costs less than £5) will certainly make things easier, it is not essential. If you want to do without one, you can make your yoghurt in the oven, in a bain-marie, in a pressure cooker or even with the help of a steamer. Incubation times vary depending on the model of your yogurt maker, but here are a few guidelines that work well: at least 8 hours for whole milk yogurt, 10 hours for semi-skimmed milk yogurt and 12 hours for skimmed milk yogurt.
The ‘fermentation’ part without a yogurt maker will just require a little more attention. In the oven, simply create a bain-marie by filling a roasting tray with water and placing the pots on top. Once in the oven, leave the pots for between 8 and 12 hours at a maximum temperature of 40°C to 50°C (you can turn off the oven after a few minutes and leave the yoghurts to keep warm for the rest of the time). Fermentation is also possible in a pressure cooker by heating water in the bottom, releasing the pressure and placing the yoghurts in the still-hot cooker.
Whatever you do, the yoghurts must be left to cool and then placed in the fridge for a few hours before eating! If you don't eat them in time, don't hesitate to use your homemade yoghurts in delicious recipes, such as the classic yoghurt cake.